 Before begining any project you want to make sure you have the tools to do the job. In the case of a Moodle 2.0 migration you better have a really good set of tools.
“Relax, all right? My old man is a television repairman, he’s got this ultimate set of tools…” ~ Jeff Spicoli – Fast Times at Ridgemont High
Jeff Spicoli was right and here is an “ultimate set of tools” to make migration magic happen. This is not a “hot-to” of an actual migration, rather the set-up work that needs to happen before actually migrating a Moodle install to a new box, in this example, an Apple server.
The Hardware.
This post describes the steps to take when moving from a Linux server (CentOS) to an Apple Mini Server running Snow Leopard Server (10.6.7). The Apple server is configured with a 2.66 Ghz Core 2 Duo processor, 8GB of RAM and mirrored 500GB hard drives. As Snow Leopard server has Apache, MySQL and PHP installed there is little to do here other than to activate the services.
Activating the Services (AMP)
Moodle requires three things to be running on a server: Apache, MySQL and PHP (AMP). While these are installed on a Snow Leopard server they need to be activated.
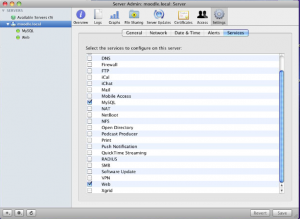
1. Launch ‘Server Admin’ and from the ‘Settings’ tab check the ‘Web’ and ‘MySQL’ services and click the ‘Start Web’ and ‘Start MySQL’.
This starts the Apache web server process and the MySQL database engine.
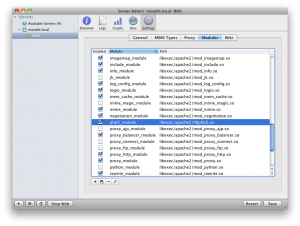
2. On the ‘Web -> Settings’ tab check the ‘php_5 module’ and save the setting. This allows Apache to understand and process the php files used by Moodle.
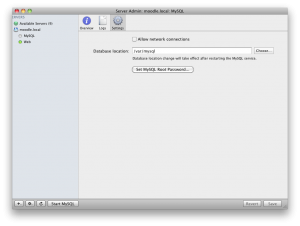
3. On the ‘MySQL -> Settings’ tab ‘Set the MySQL root password…’ and save the setting.
You can’t turn on the MySQL process without setting this password.
All the modules are now running on the server to support Moodle.
Where the data live.
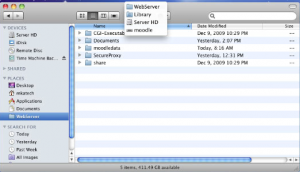
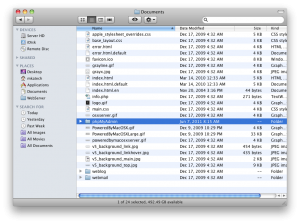
With the AMP services running data can now be placed in the appropriate folder(s). The majority of the hosted files will be stored in ‘Library -> WebServer -> Documents’. Make an alias to this folder and include it in the sidebar or in the Dock for easy access.
Installing and “tweaking” phpMyAdmin and config.inc.php.
phpMyAdmin provides a GUI interface to a MySQL databases. This tool will allow for the creation of the Moodle database, provides access to the tables and numerous other tasks. Download phpMyAdmin here: http://www.phpmyadmin.net/home_page/downloads.php.
There are instructions on the phpMyAdmin website, the following are the steps taken to tweak the documented install to allow for larger files to be used which can accompany a Moodle migration.
1. Drag the copy the phpMyAdmin folder in the Library -> WebServer -> Documents folder. Renaming the folder is recommended as there is a potential security risk with exposing the folder.
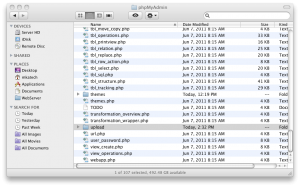
2. Within the ‘phpMyAdmin’ folder create a folder call ‘upload’. This will be used in Step 7 below.
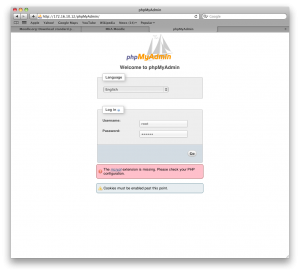
3. From a web browser navigate to web address of the server and the folder -> http://YOURSERVER.COM/phpMyAdmin and enter the ‘root’ user and the password from the set-up in the MySQL section above.
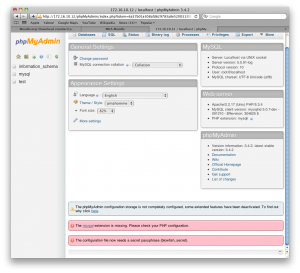
4. phpMyAdmin provides the ability to configure a SQL database for use with Moodle. Try to resolve any error that are presented at the bottom of the window.
The ‘secret passphrase’ error is fairly common and can be resolve easily while the system will function if the ‘mcrypt’ error is ignored.
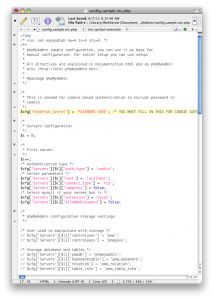
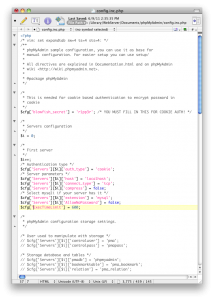
5. To resolve the ‘secret passphrase’ error open the ‘config.inc.php’ file located within the phpMyAdmin folder and add the security phrase between the single quotes on the line: $cfg[‘blowfish_secret’] = ; /* YOU MUST FILL IN THIS FOR COOKIE AUTH! */
(Resource link: http://docs.moodle.org/20/en/Step_by_Step_Installation_on_a_Mac_OS_X_Server#PHP_settings_in_your_php.ini)
6. Changes will need to be made to the config.inc.php’ file if large file(s) need to be imported.
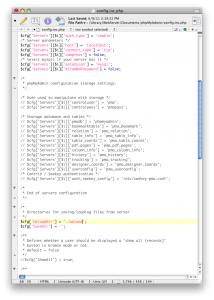
The line ‘$cfg[‘ExecTimeLimit’] = 600;’ will need to be added to the file to change the time limit that a script can run. This limit can be adjusted based on the size of the files to be uploaded/imported.
(Resource link: http://www.question-defense.com/2009/06/17/phpmyadmin-script-timeout-passed-if-you-want-to-finish-import-please-resubmit-same-file-and-import-will-resume).
7. To bypass the 2MB file size upload limit open the config.inc.php’ file and edit the ‘$cfg[‘UploadDir’]’ line to ‘$cfg[‘UploadDir’] = ‘./upload’;’ to use the upload folder created in Step 2 above.
(Resource link: http://www.givegoodweb.com/post/82/phpadmin-upload-restriction)
All of the “tweaks” to the ‘config.inc.php’ file are now complete.
“Tweaking” the php.ini file.
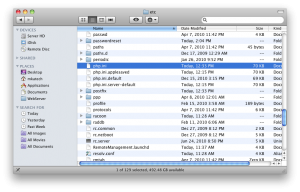
1. The ‘php.ini’ file live in the ‘/etc’ folder, which is not viable by default. To access the folder use the ‘Go -> Go to folder…’ command and type ‘/etc’.
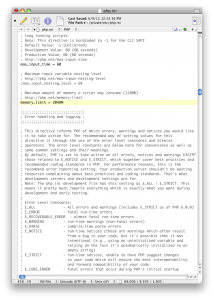
2. The ‘memory_limit’ needs to be increase from 128MB to something larger depending on the amount of data to be transferred. (2GB of data = 2048MB or 4096MB for better performance, depending on available RAM).
3. The ‘max_execution_time’ and ‘max_input_time’ will need to be increased as well. Again, this is dependent on the size of the file(s) to be uploaded. During testing the limit was set to 600.
These are all of the system tweaks needed before getting started. There are a few more things which may need to be addressed such as the database table collation and adjusting the database type from MyISAM to InnoDB.
The following software tools and recommended reading will provide the most “ultimate set of tools” for your Moodle migration:
- Software
- TextWrangler or Coda – for making edits to the various config files.
- BatchMod – for changing folder ownership
- Sandbox – if you need to chance ACL (Access Control Limits)
- Sequel Pro – for looking at and dumping out you MySQL data. Handy for a number of things.
- Poca Change Collation Tool – for changing the collation of multiple tables at one time (very useful!!!)
- Lingon – for creating CRON jobs
- Recommended reading
In my next post I will detail the steps taken to get data sync’d between an active Moodle server and a new server.
If you missed Pt.1 in this series you can read it here: “Moving to Moodle 2.0: Pt.1 The Decision“.

